在 Macintosh 作業系統(macOS)上登入 Cisco IPSec VPN 時,無法儲存密碼。

對我來說最好的解決方案是在 Automator 中編寫 AppleScript,或從命令列執行它,以自動化登入過程。
Automator 中的 AppleScript
-
開啟 Apple 的 Automator,
-
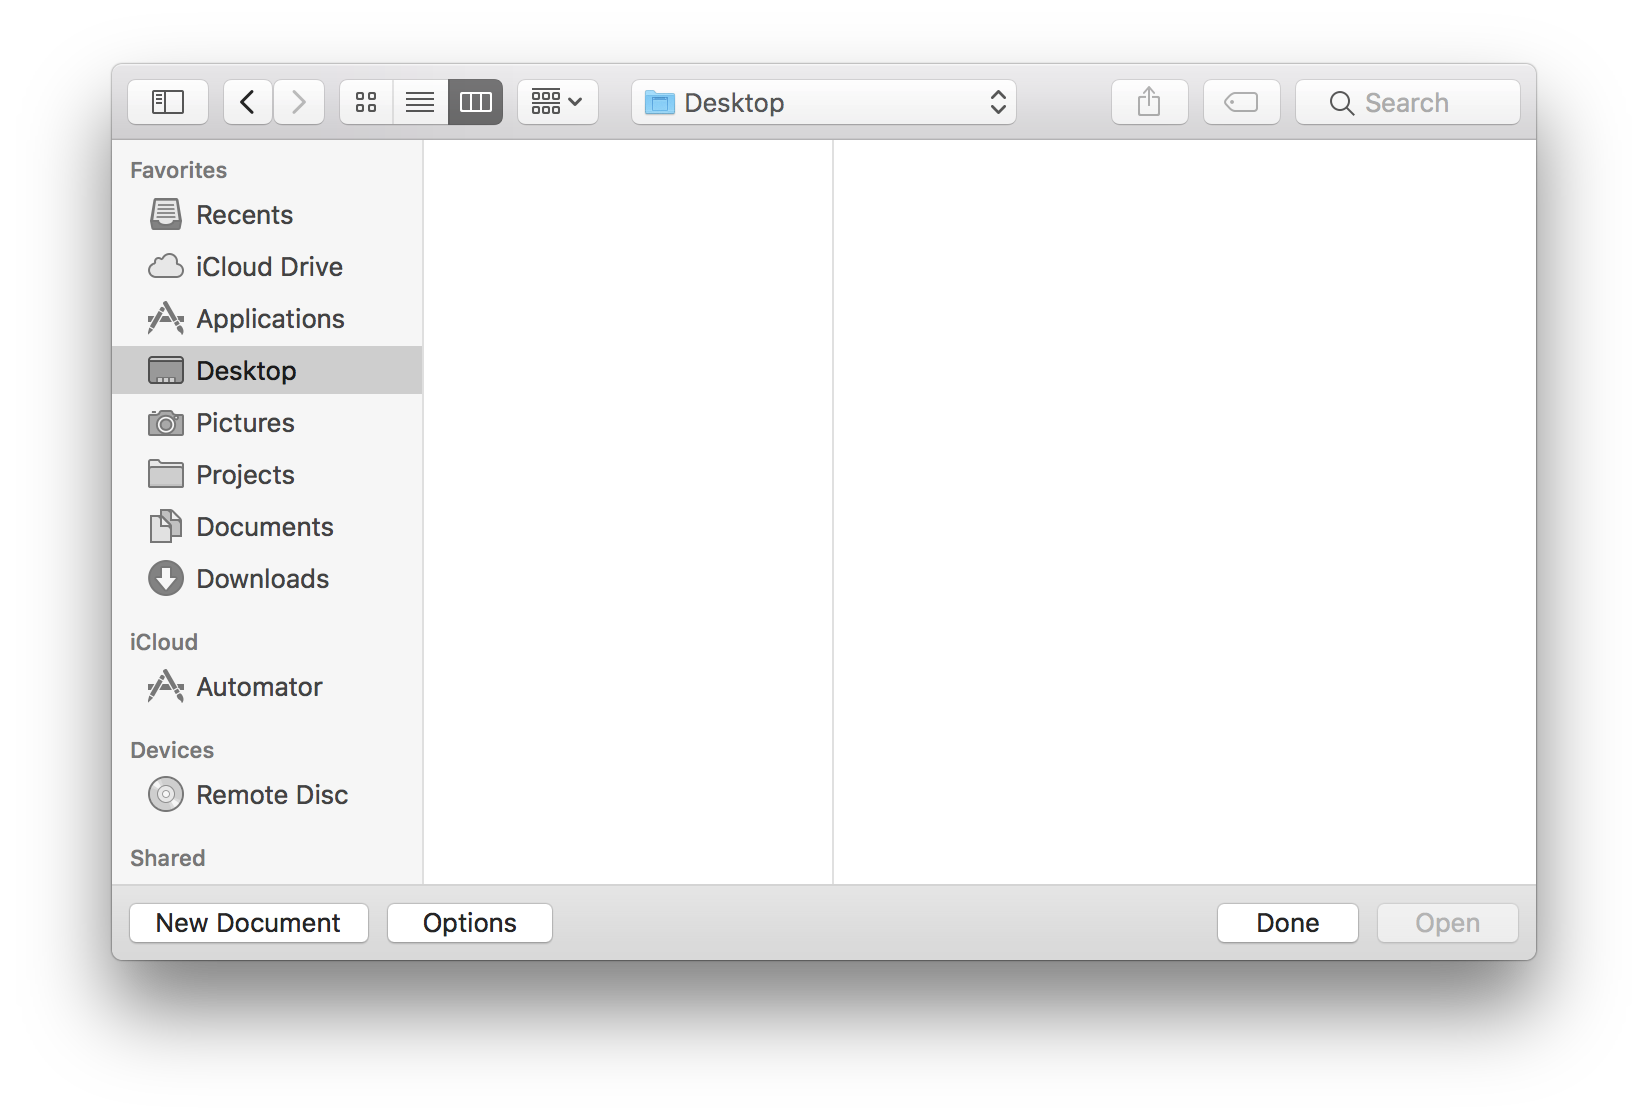
選擇
New Document
-
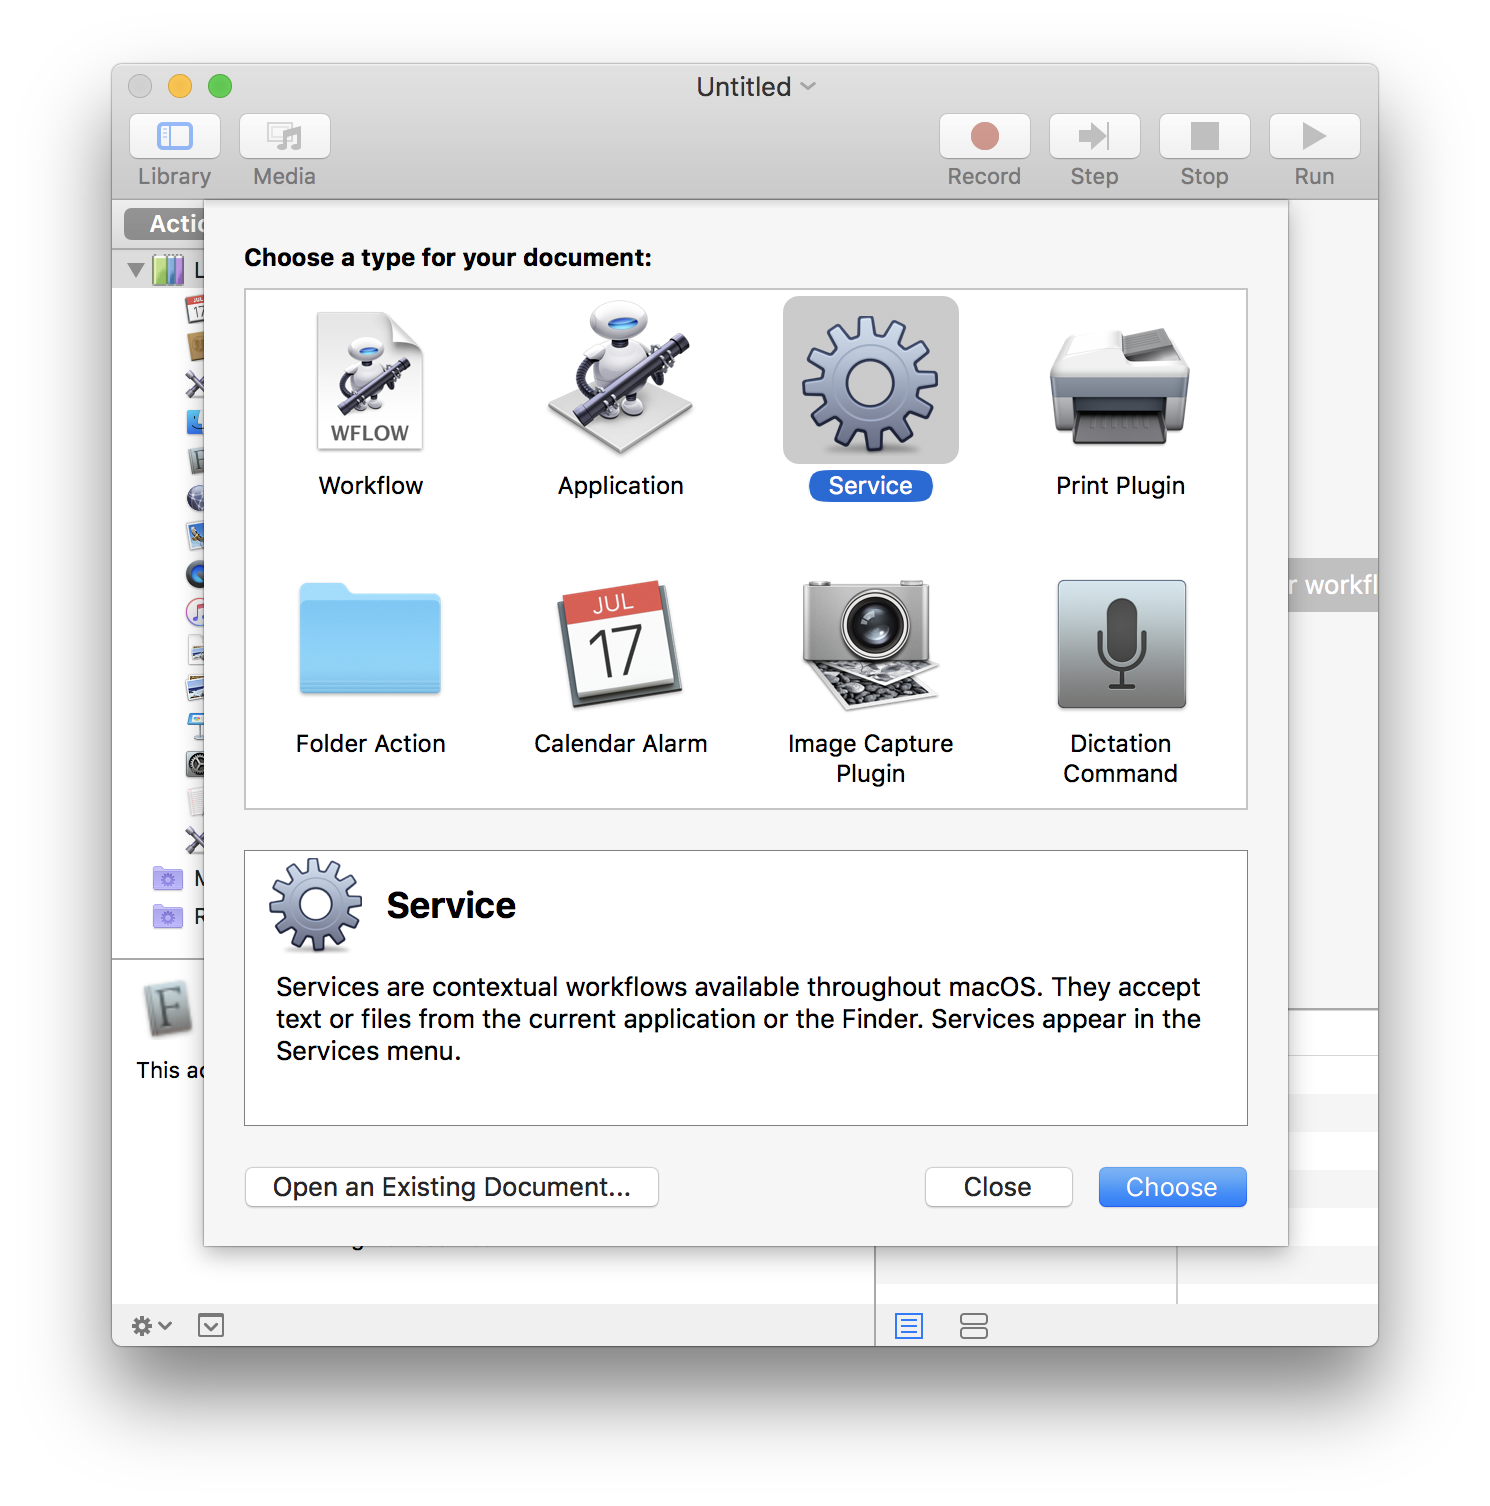
選擇
Service
建立的服務預設為receives selectedtext。這意味著您需要選擇文字或在文字編輯器中有焦點才能啟用該服務。
-
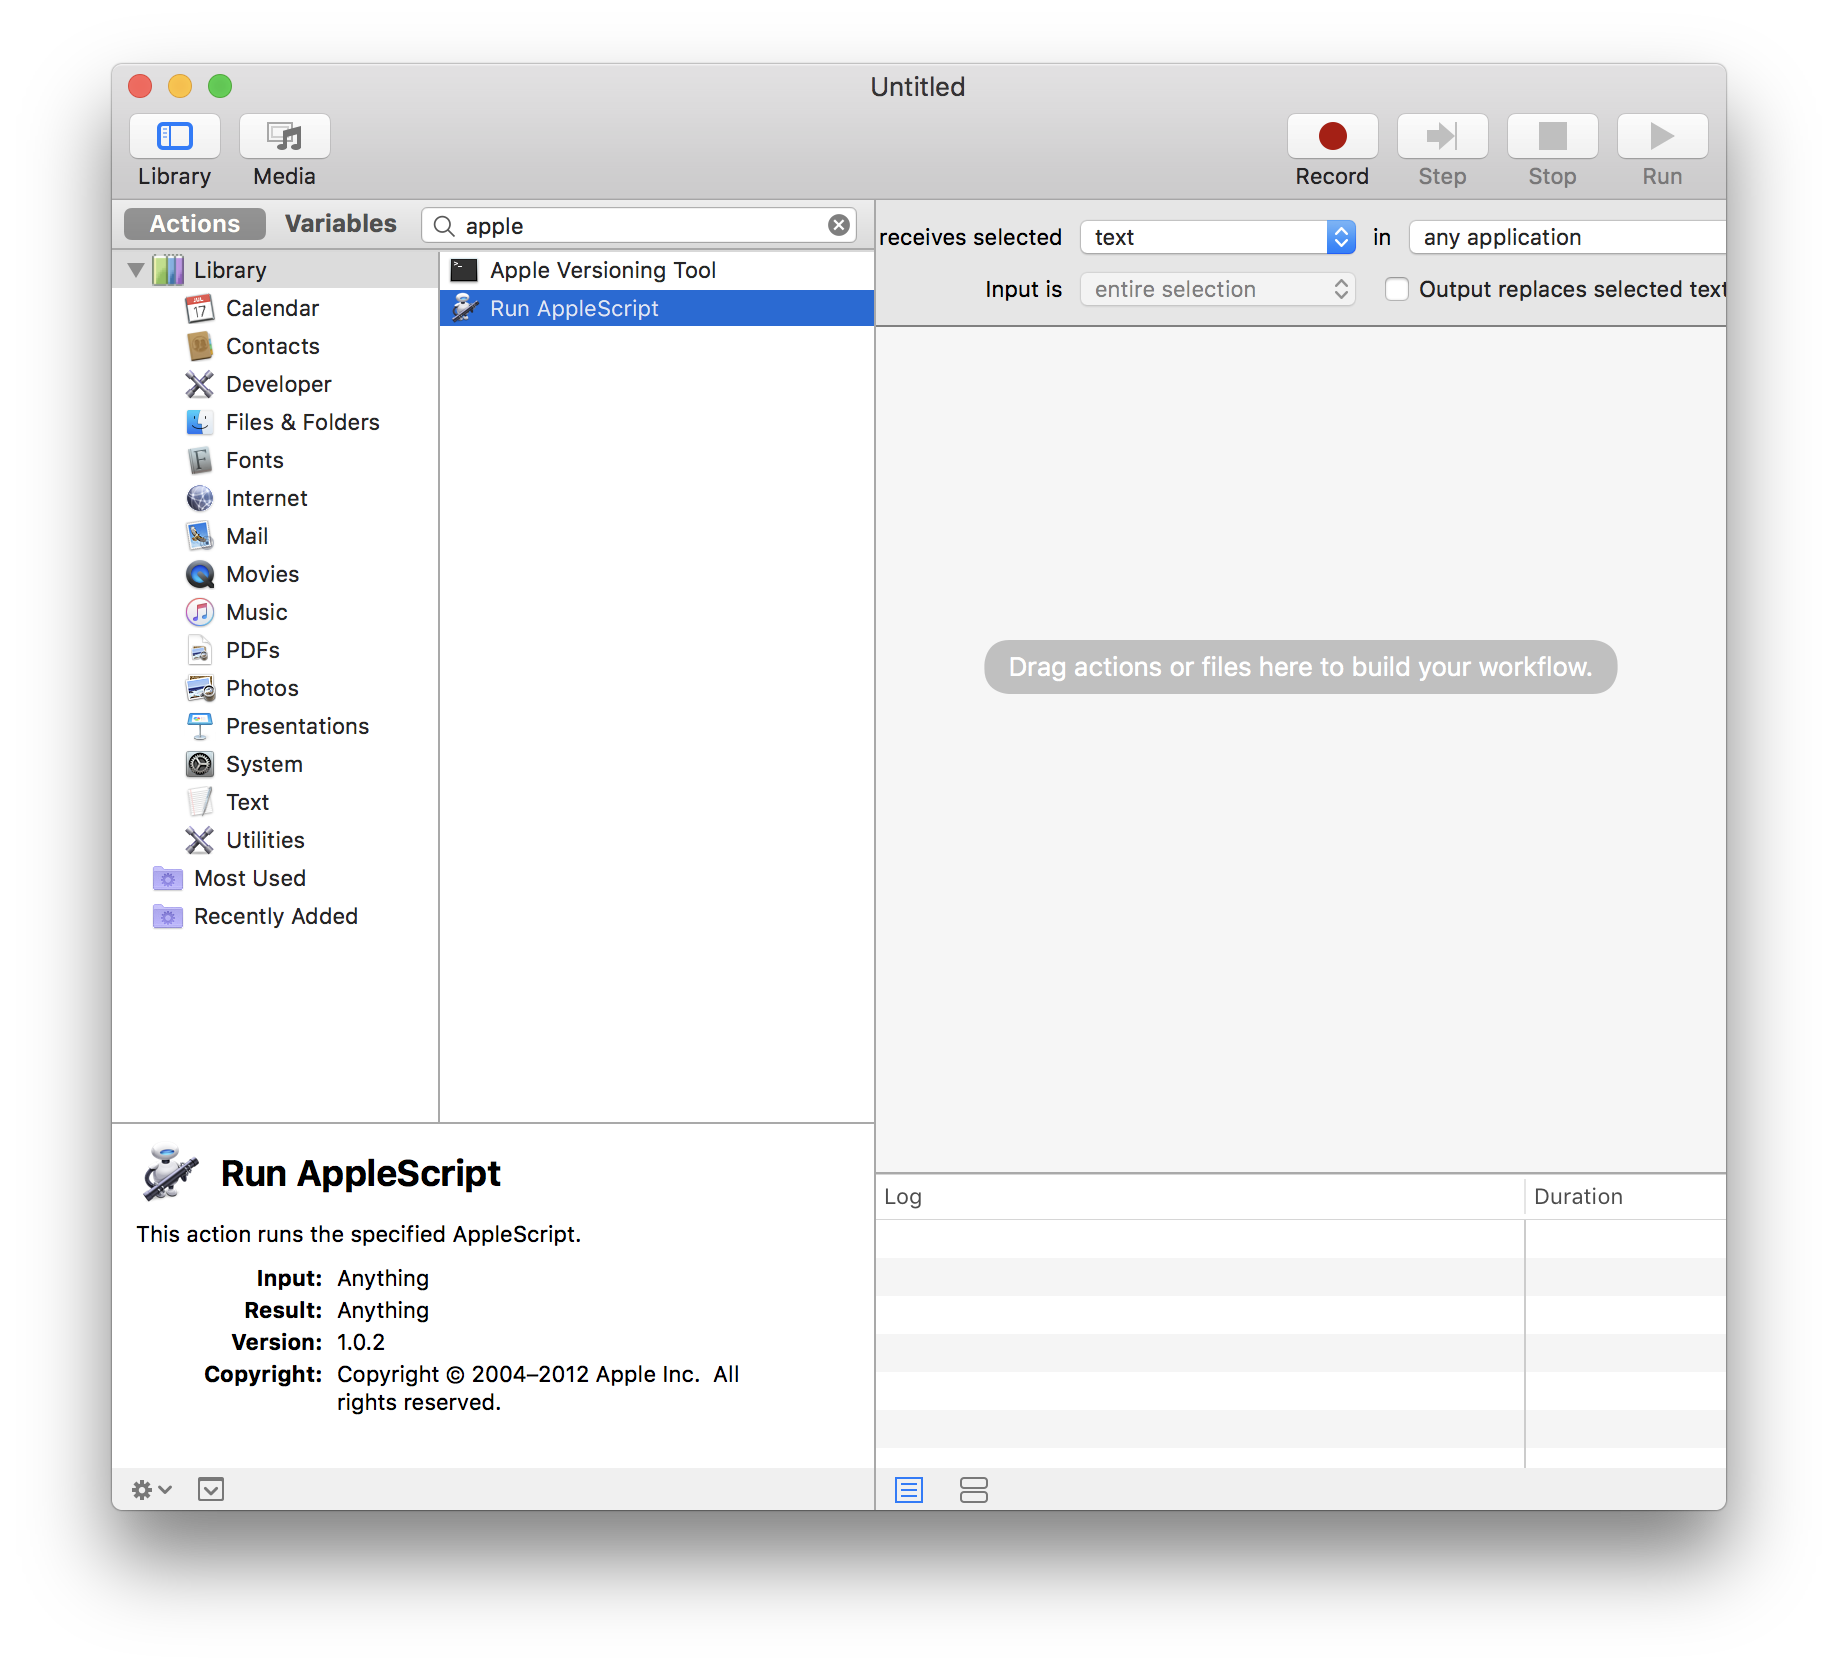
嘗試搜尋動作
Run AppleScript。然後,將動作拖曳到右側。
-
將以下程式碼貼到編輯器中,
on run {input, parameters}

  set vpn_name to "'your VPN name'"
  set user_name to "your username"
  set passwd to "your password"

	tell application "System Events"
		set rc to do shell script "scutil --nc status " & vpn_name
		if rc starts with "Disconnected" then
			do shell script "scutil --nc start " & vpn_name & " --user " & user_name
			delay 3
			keystroke passwd
			keystroke return
		end if
	end tell
	return input
end run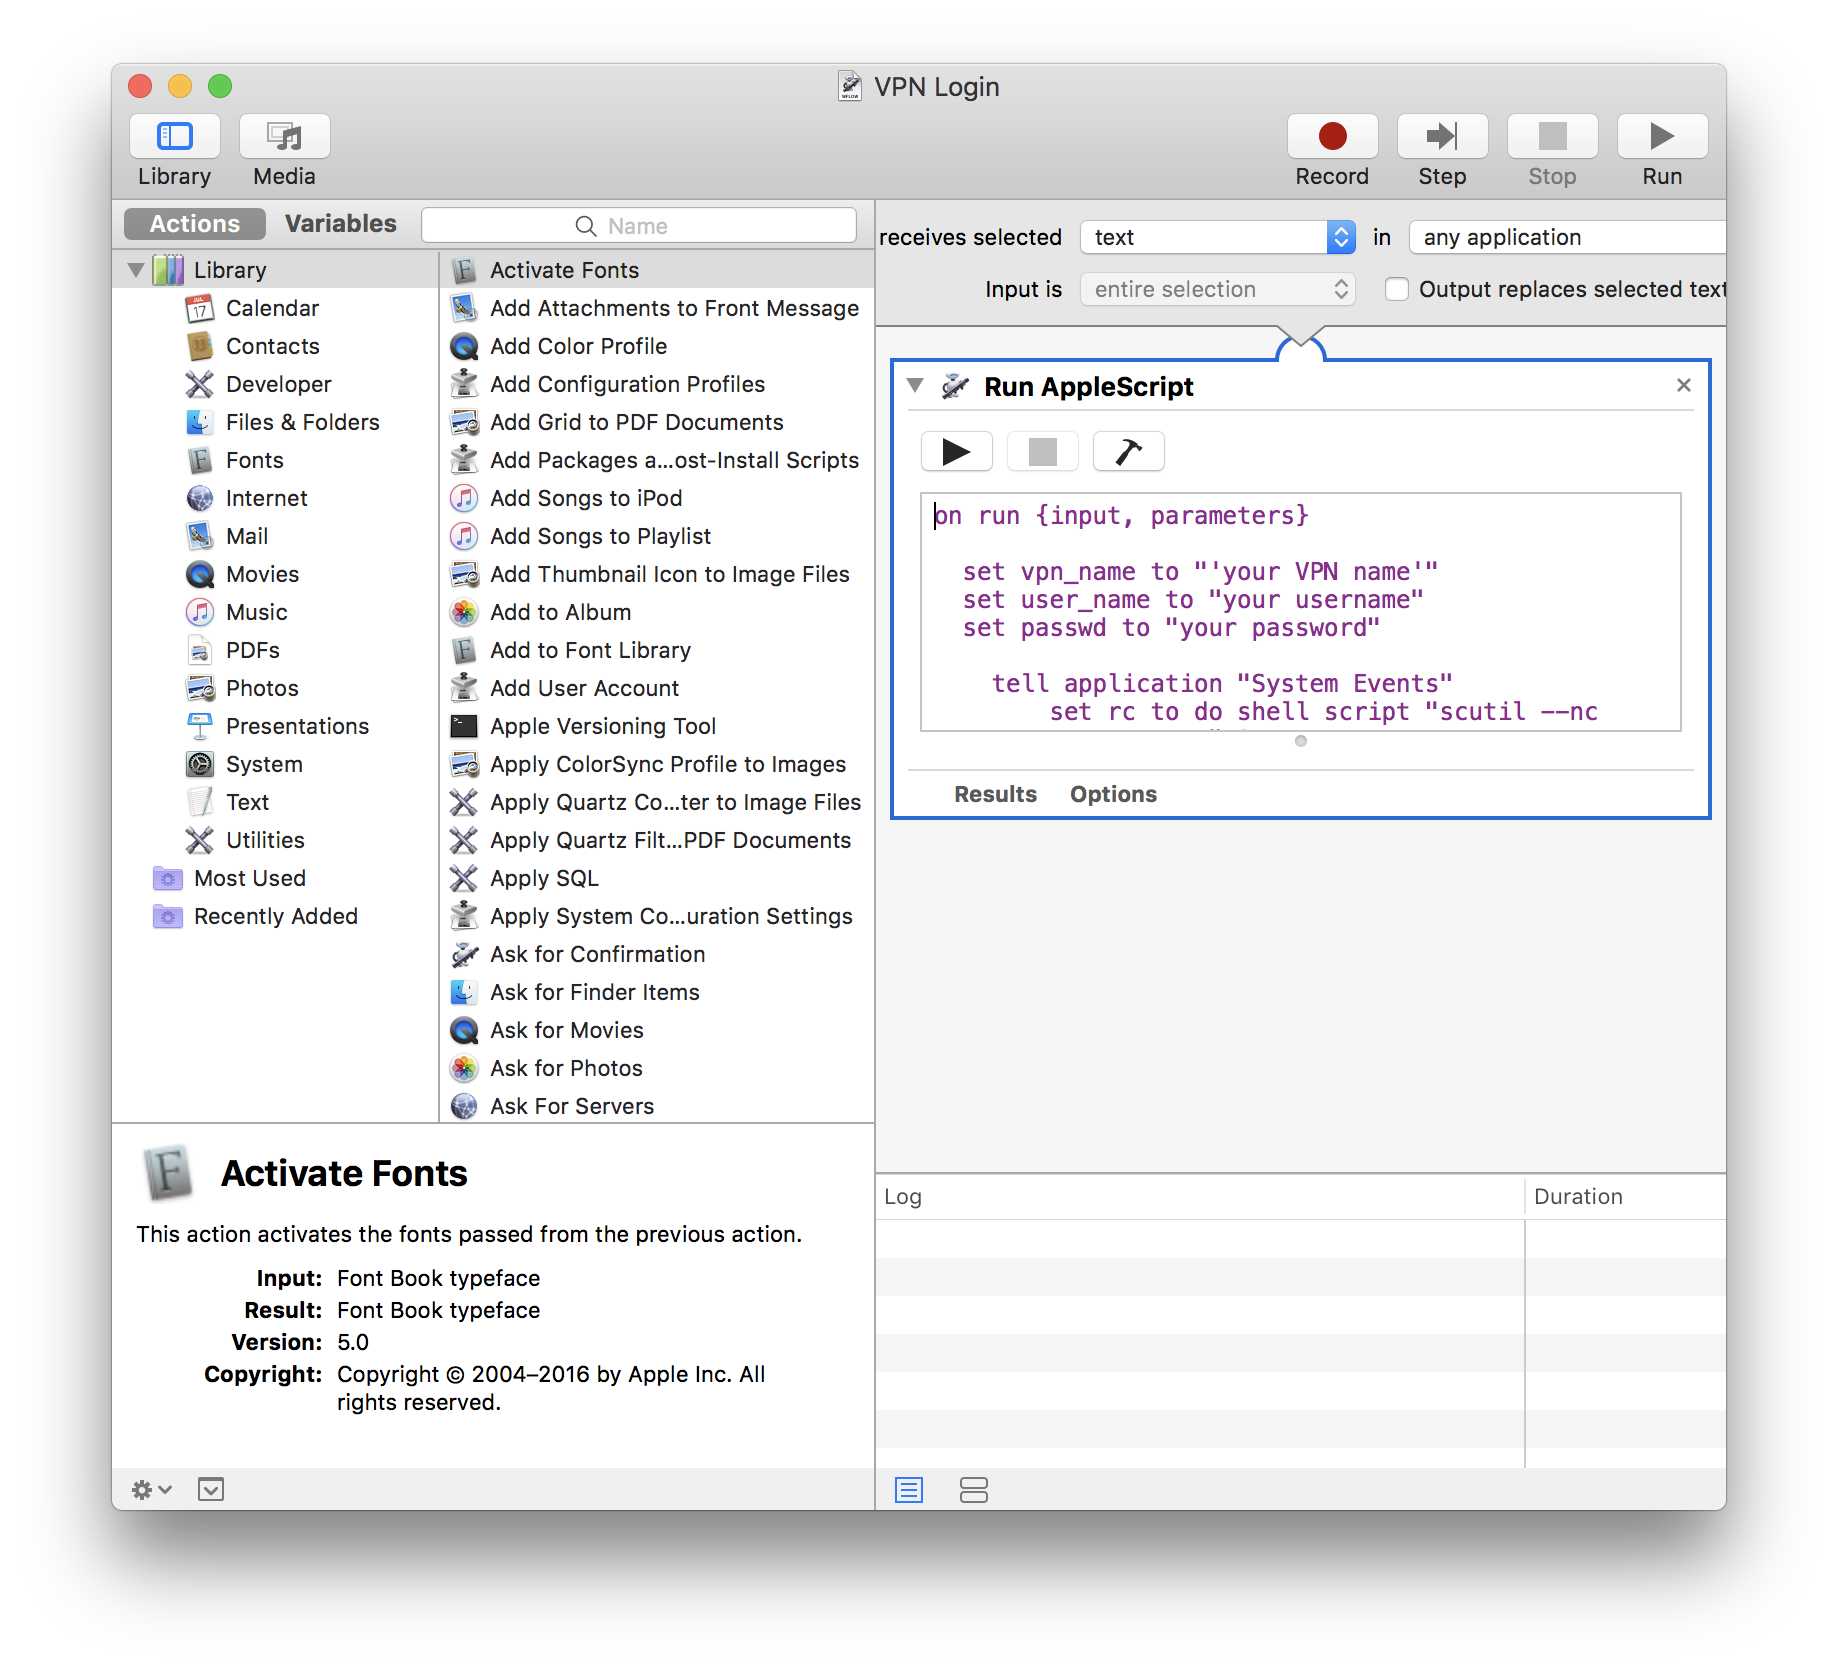
- 更新腳本中的
vpn_name、username和passwd。
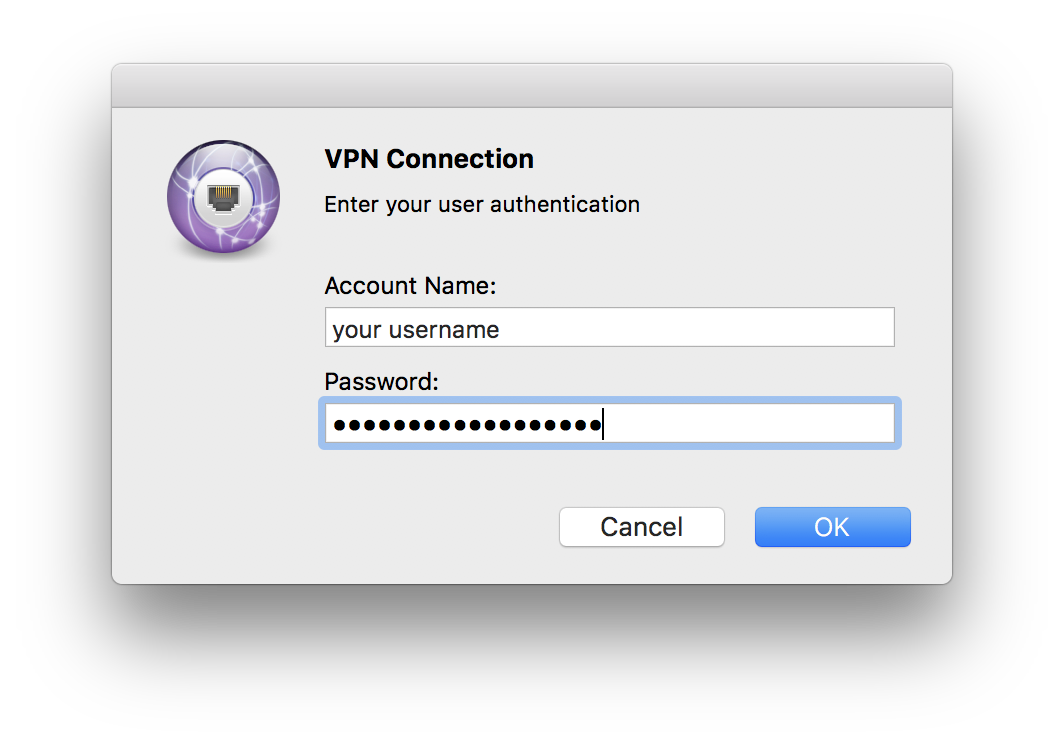
您可以參考下面的螢幕截圖來取得 vpn_name,即 VPN (Cisco IPSec)。腳本使用 scutil --nc status 檢查 VPN 連線狀態,並使用 scutil --nc start 啟動 VPN 連線。通常,VPN 登入對話框會在 3 秒內出現。如果您的筆記型電腦速度較慢,請更新 delay 3 中的值。要自動化該過程,請嘗試使用播放按鈕執行腳本並觀察其工作方式。

-
使用名稱(如
VPN Login)儲存腳本。
在System Preferences -> Keyboard -> Shortcuts中,您可以找到自動化腳本。指派快捷鍵。預設情況下,腳本在建立期間被指派給文字服務。要使用鍵盤快捷鍵,您需要選擇一些文字或在啟用的文字編輯器中有焦點。

-
嘗試從文字編輯器(如 Atom)中選擇文字。設定適當的快捷鍵後,您應該能夠自動化 VPN 登入。此腳本應該適用於 Sierra 或更早版本的 macOS,儘管我自己沒有在較舊的系統上測試過。如果您在較舊的 macOS 平台上使用此方法有任何結果,請告訴我
從命令列執行 AppleScript
-
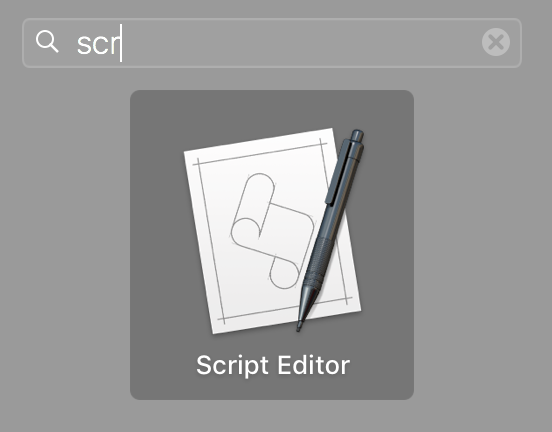
開啟 Apple 的 Script Editor,
-
選擇
New Document -
將以下程式碼貼到編輯器中。請參閱 Automator 中的 AppleScript
set vpn_name to "'your VPN name'"
set user_name to "your username"
set passwd to "your password"

tell application "System Events"
	set rc to do shell script "scutil --nc status " & vpn_name
	if rc starts with "Disconnected" then
		do shell script "scutil --nc start " & vpn_name & " --user " & user_name
		delay 3
		keystroke passwd
		keystroke return
	end if
end tell- 儲存腳本。您可以從終端機使用
osascript [programfile]執行腳本。
玩得開心!